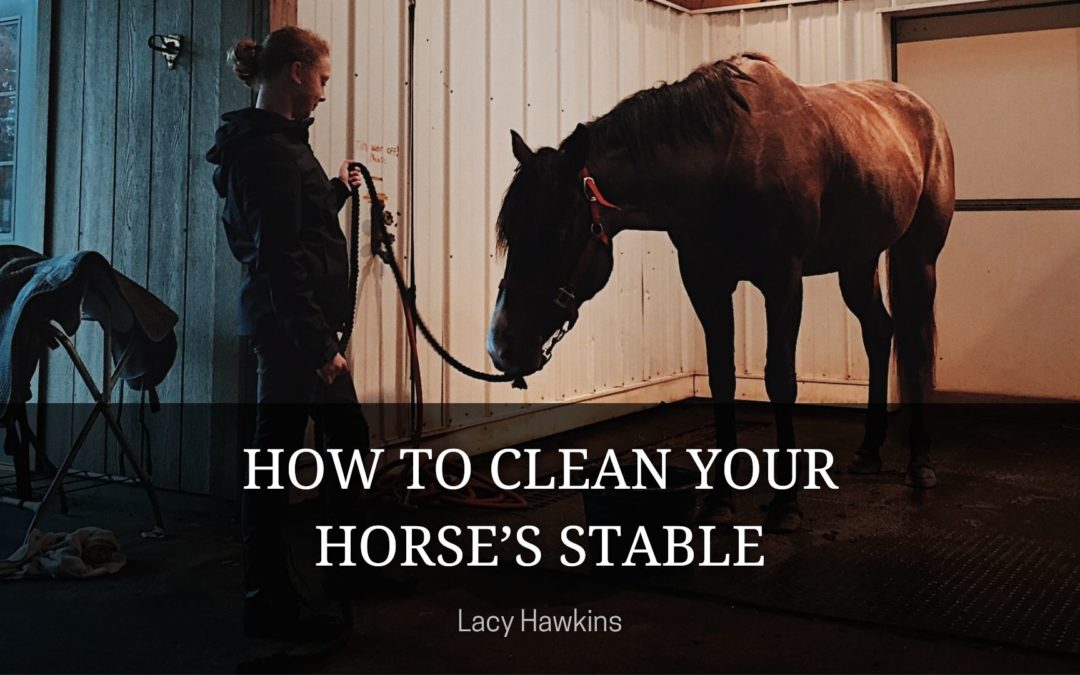
Good hygiene is one of the most important factors you should consider when it comes to keeping your horse healthy. This is why it’s crucial that you know how to clean your horse’s stall. In this article, you’ll find the steps that will help you get the best results, as well as some of the best tips, to help you keep your horse’s stall looking its best.
Step 1. Get Your Stall Ready For Cleaning
Before you start cleaning, make sure that the stall is ready to be cleaned. This will allow you to get the most out of your horse’s time while they are working, grazing, or exercising. You should also remove any loose items from the area, such as water buckets, toys, and feed. Also, make sure that you have a pair of thick gloves and rubber boots.
Step 2. Know What You’re Looking For
You should identify the areas of the facility that have become dirty, such as the manure and the bedding. However, keep in mind that some horses will hide their waste under their bedding. This means that you’ll have to inspect the floor carefully to get all of it. If your horse has been peed on, you may have to look closely at the bedding. If there are dark spots where the urine has been soaking in, the animal’s urine may cause the soiling. You’ll have to remove all of the bedding material.
Step 3. Start With The Manure
The first step in cleaning the stall is to position the bucket or wheelbarrow at the entrance. This will allow you to easily access the soiled bedding. It will also give you room to work without getting bumped into it. You should also make sure that the wheelbarrow is facing the manure pile in the direction you want it to go. Now, use your fork to scoop up the manure.
Step 4. Remove The Pee Spots
Depending on the type of flooring used in the stall, you may have to tackle the areas where the horse has peed on differently. Rubber mats can absorb urine and allow you to easily remove the soiled bedding. You can replace the bedding with fresh materials by simply lifting the mats. If the floor of the stall is dirty, you’ll have to make sure that it has dried out first. Otherwise, urine will only be absorbed by the clean bedding. To get rid of the darker straw, use your broom to remove it.
Step 5. Check For Smaller Areas Of Soiling
Using your fork, spread the clean bedding across the floor. Now, go through it and inspect for small patches of manure or wet mud. Shaking the handle of the pitchfork will allow you to grab any soiled materials. Depending on the animal, the amount of work you’ll need to do to clean the stall will vary. Some horses leave their waste under their bedding, while others spread it all over the floor. After you’re satisfied with the results of the inspection, take your wheelbarrow or bucket to the manure pile. It will allow you to use the nutrients from the manure to improve the garden or the fields.
Step 6: Spread Fresh Bedding
After thoroughly cleaning the stall, spread the remaining bedding material evenly across the floor. Using a fork or a rake will help you level the surface. If you need more bedding, make sure that you have enough to cover the area. If you have rubber mats under the stall, these will absorb the urine and provide a soft surface. This will allow you to make a thinner layer of bedding on top. If the floor of the stall is made of concrete, then you’ll need a thicker layer of bedding to absorb the urine. This will allow you to provide the horse with a comfortable surface to rest on. While sand floors may seem softer on the surface, they will still require more bedding to absorb the urine. If you need more bedding, add it and ensure it’s level across the floor. Using a fork or a rake will help you create a level surface.
Step 7: The Final Sweep
To keep the barn aisle clean and beautiful, make sure you remove all the bedding from the stall entrance. Any left behind can turn moldy and make the area look messy. You should also ensure that the area beneath the feed bucket is free of all the bedding. This will prevent the horse from ingesting any dust or other debris that may be left behind. If you’re using a hay rack, make sure that the area beneath it is free of debris. Also, if you’re placing the hay on the ground, make sure that the area is clear.
Step 8: Replace Toys, Feed, And Water Buckets
After the bedding has been replenished and the stall is clean, it’s time to make it again. Before you start the next step, make sure that you replace the toys, feed buckets, and water buckets that were left behind.
